Group classes and camps
Create a group class, camp or workshop with sections and seats, put its classes on the calendar, and enrol students.
 Written by the Pillar OS team Updated November 2, 2026
A group class, a camp or a workshop is a program in Pillar. A program holds one or more sections (each group’s days, time, tutor, seats and price), and families can register and pay for it from their portal.
Create a group class or camp
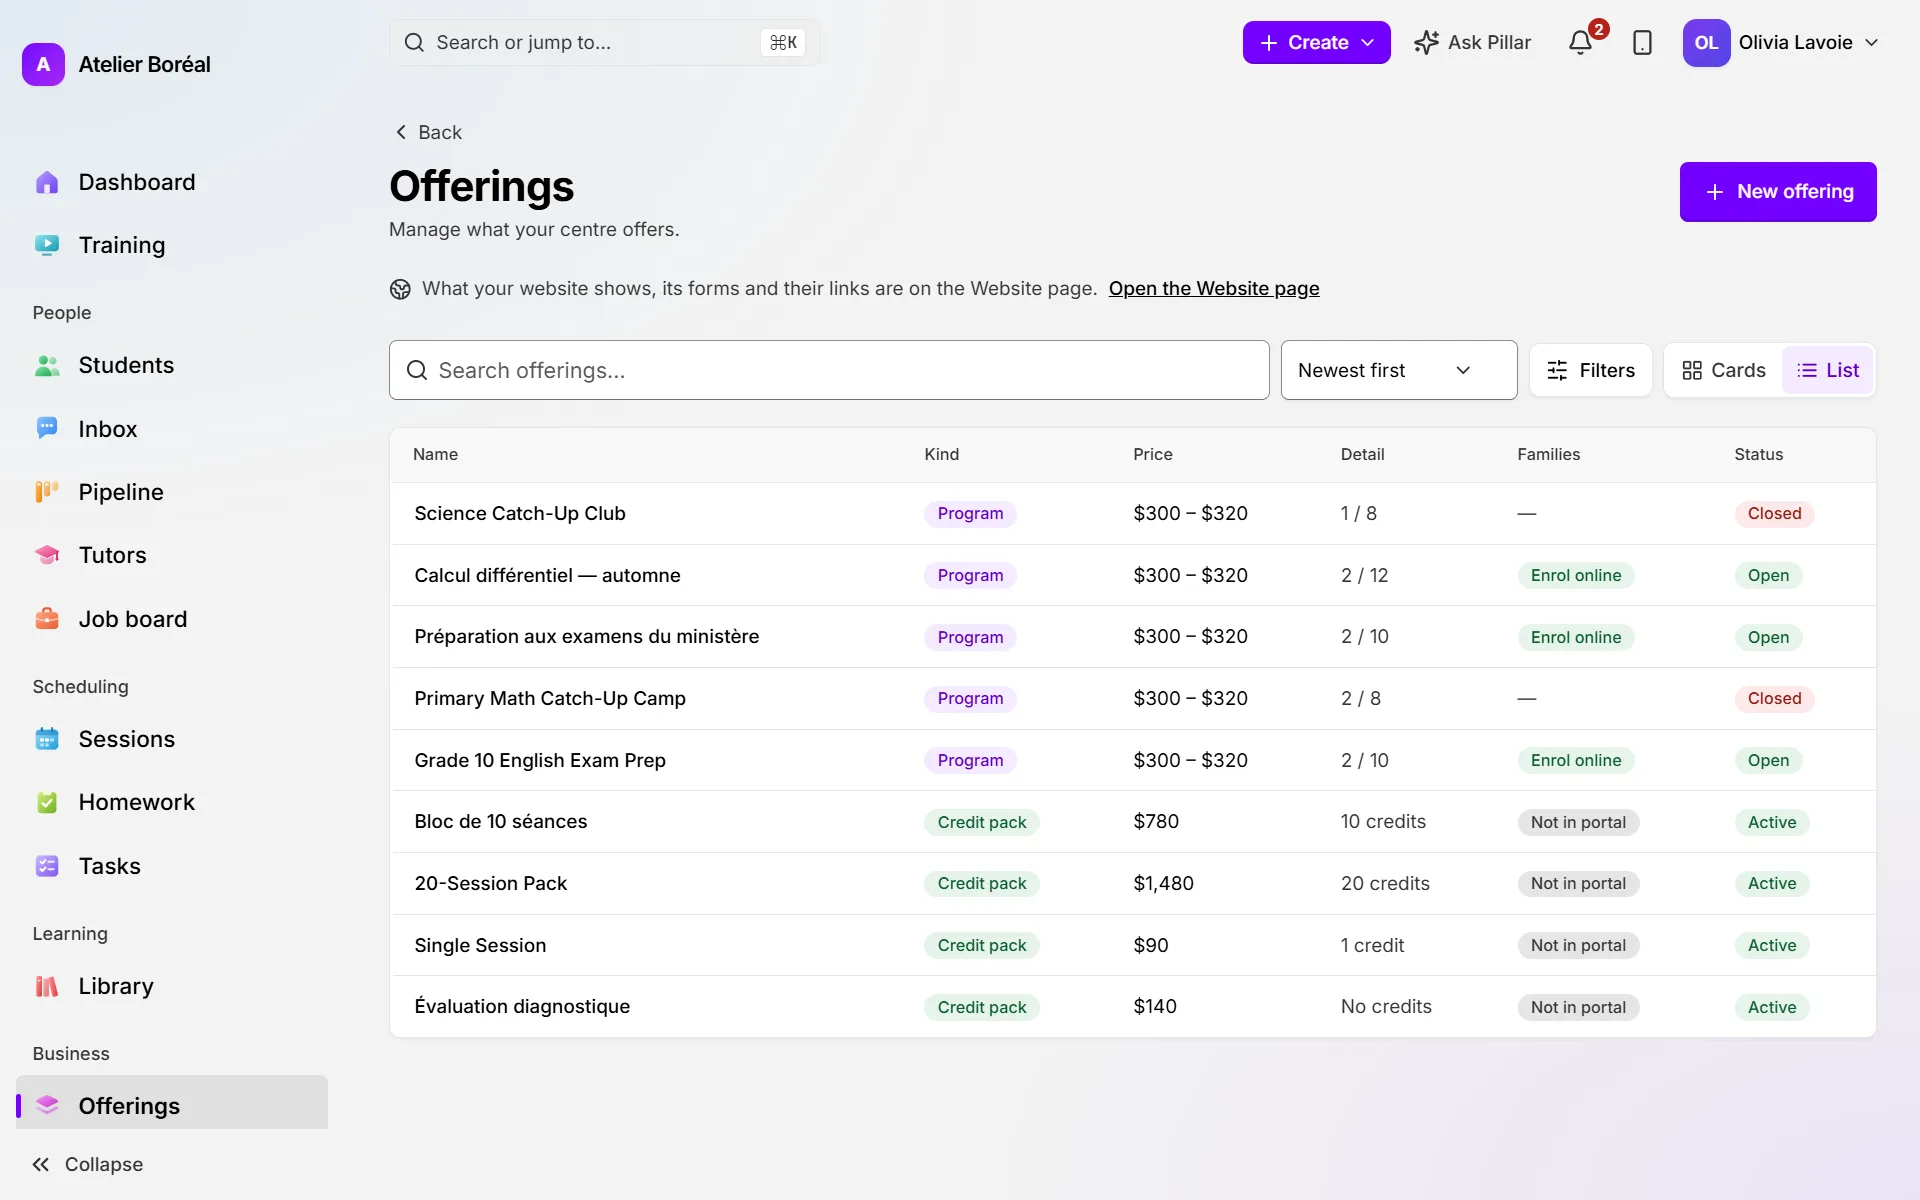
Where: Create › Program at the top of any page, or Business › Offerings, then New offering › New program
- On Details, give it a name, a subject and its Grades served. Under How it runs, choose the format, then a location or a Meeting link. Under Who sees it, leave the status on Draft for now, and choose whether to Publish in the family portal. Click Next.
- On Sections, fill in one section per group: Section name, Days, time, Class length (min), Max students, tutor, start and end dates, and price. Bonus credits and Tutor pay are optional. Use Add a section or Duplicate the last section for more. Click Next.
- On Payment options, tick the cadences under Instalment payments if families may spread the price. Leave them all unticked for payment in full. Click Next.
- On Curriculum, link a course from your library, create one, or keep no course.
- Click Create program. The program’s page opens.
Put the classes on the calendar
Where: Business › Offerings, open the program, tab Schedule
- Click Generate schedule. If some dates fall on a day the tutor is away, Pillar asks first and leaves those dates out.
- Click View on calendar to see the classes.
- Later, check To review: it lists past classes that were never marked, so you can record them.
Enrol students
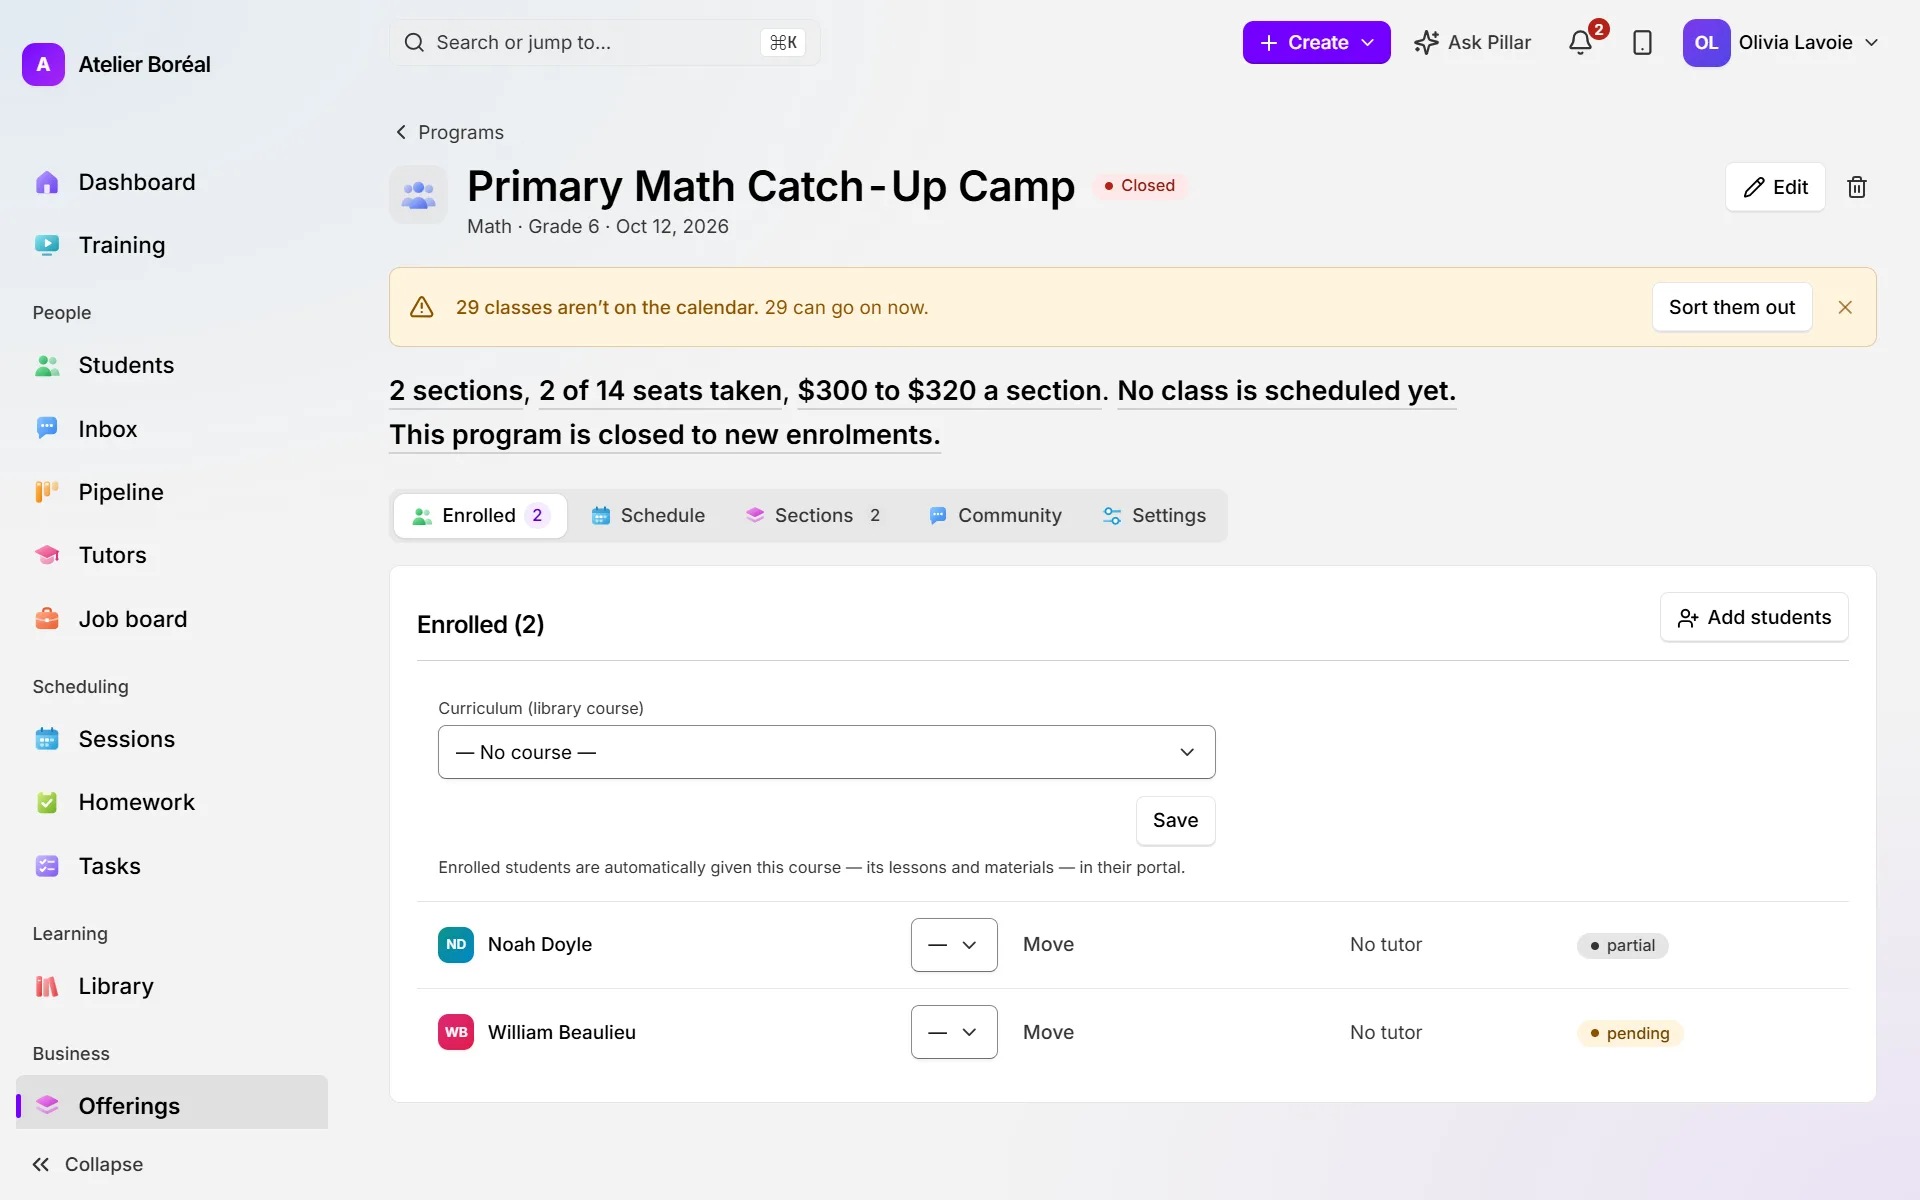
Where: the program’s page, tab Enrolled
- Click Add students and pick the students under Who is joining.
- Under Where they go, choose a section.
- Under How this is being paid, choose the option saying they already paid (they are added now), or Send an invoice and pick the payment (in full, or an instalment cadence the program offers).
- Click the button to confirm (Add N students, or Send N invoices).
- To move a student, choose the new section beside their name and click Move. If that section is full, you can choose Move them anyway.
Let families register online
Where: the program’s page
- On the Settings tab, under Who can enrol, set the Status to Open.
- Turn on Registration link, then click Save changes.
- Click Registration link at the top of the page to copy or send the link. The family registers and pays there.
Did this answer your question?
Thank you. It helps us know what to write better.
Related articles
Still stuck?
Support is included with every plan. Write to us and a person replies.
Contact support