Automated messages and reminders
Choose which messages Pillar sends on its own, rewrite them in English and French, time session reminders and send from your own domain.
 Written by the Pillar OS team Updated November 2, 2026
Pillar sends many messages on its own: session reminders, booking confirmations, receipts, invoice emails, rating requests and more. You choose which ones go out and how, rewrite their words, set when reminders leave, and can have them come from your centre’s own email address.
Choose which messages go out
Where: Settings › Messages › Automated messages
- Pick a theme tab: Sessions, Billing & credits (Billing if you don’t use credits), Families or Tutors.
- Read the row: it says who gets the message (To families, for example) and whether it is Optional (On by default or Off until you switch it on) or Always sent.
- Click the row’s switch for Email or SMS. It saves at once.
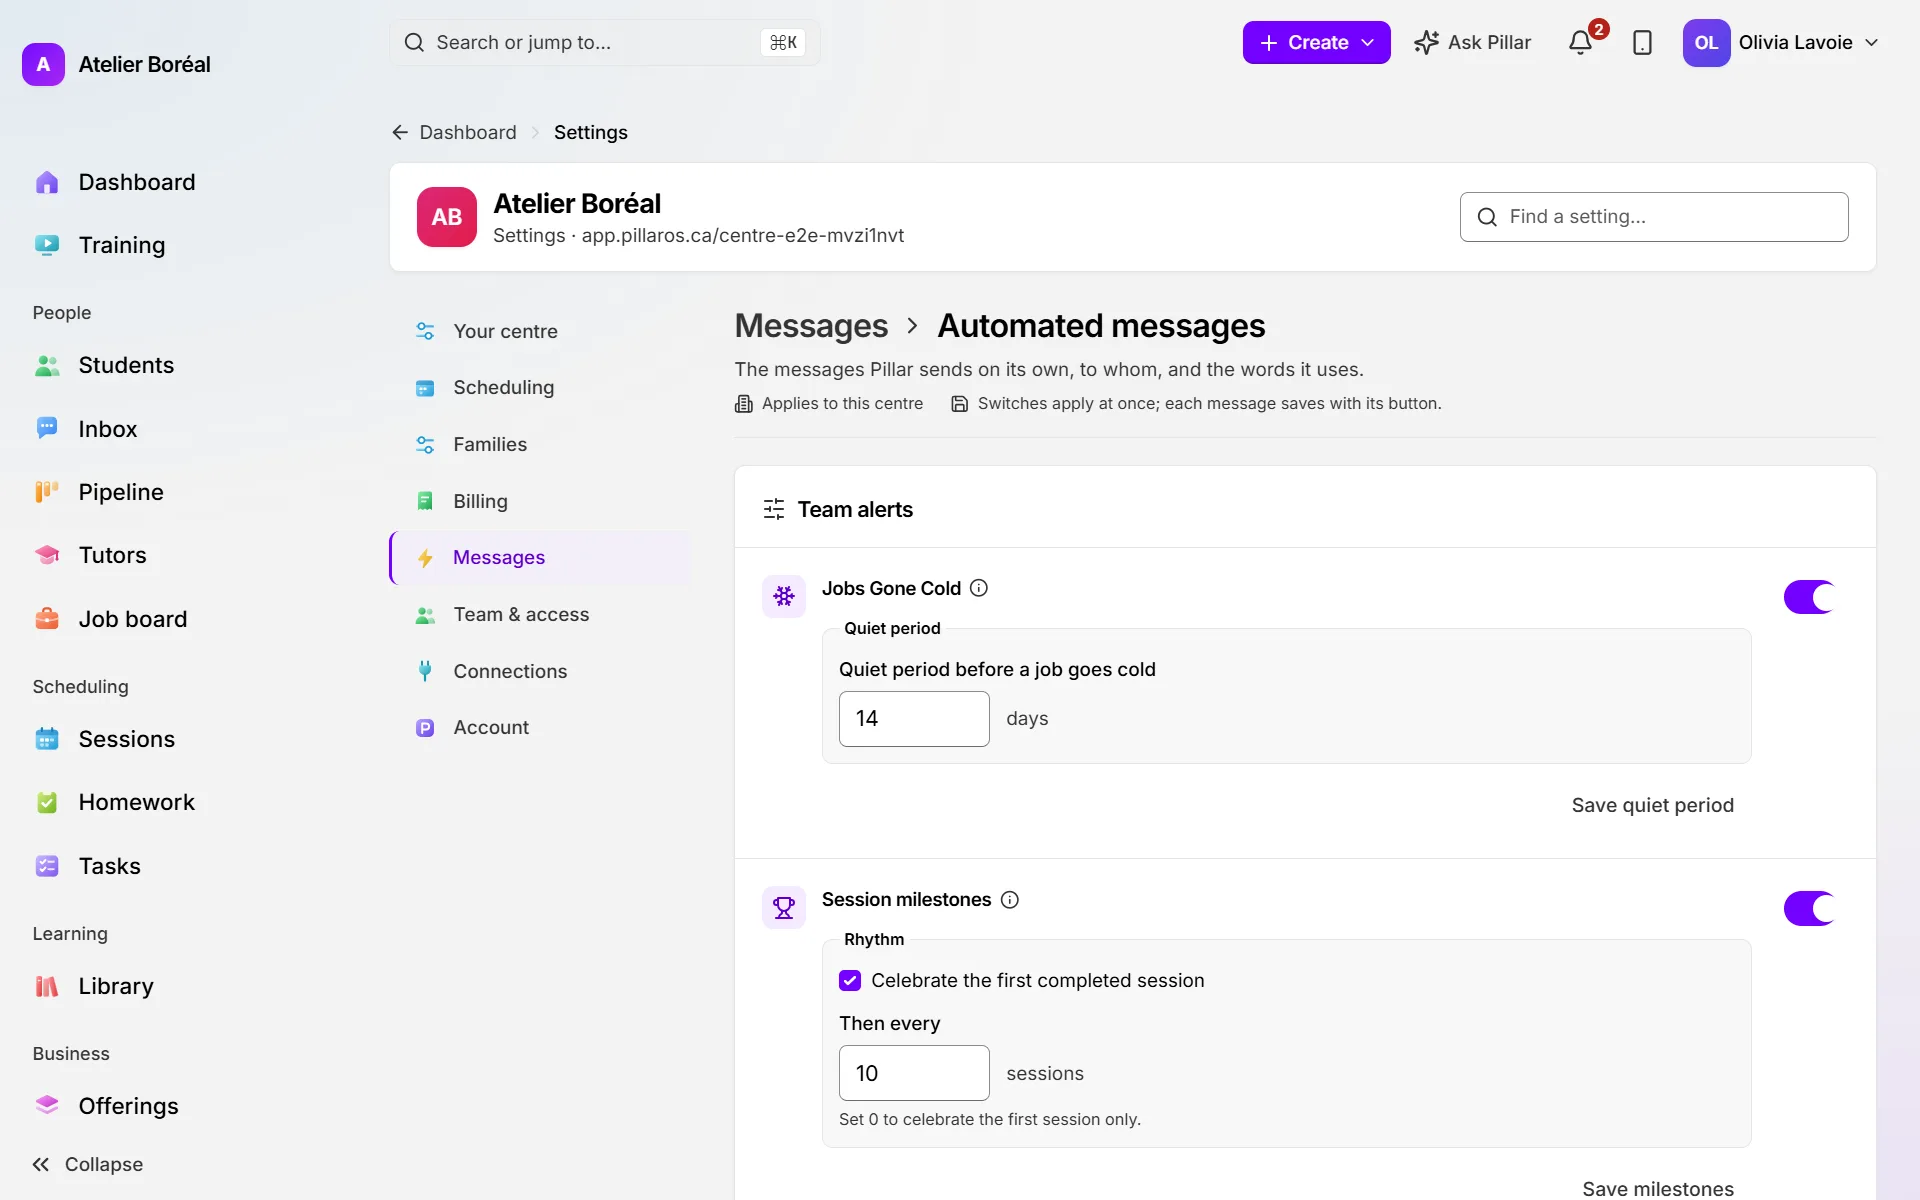
Always sent messages, like the portal invitation and the invoice email, have no switch, but you can still change their words.
Change the words of a message
- Click the message’s row to open it, then pick the Email or SMS tab.
- Edit the Subject and the Message, English and French side by side. Use Insert variable to add details such as the student’s name.
- Click Preview to see what a family receives, with your logo and colour.
- Click Save template.
- To have the other language written for you, click Translate, read the result, then save it.
- To go back to Pillar’s wording, click Revert to default and confirm. This resets both languages.
Change when session reminders go out
- Open the Session reminder row.
- Under When, set the First reminder (in days before the lesson).
- Set the Second reminder (in hours before). Put 0 to send the first reminder only.
- Click Save reminder timing.
Send email from your own domain
Families then get your emails from an address like info@yourcentre.ca instead of Pillar’s.
Where: Settings › Messages › Email sending
- Under Your own email domain, type it in Your domain and click Add the domain.
- Open The records to add and add each record at the company that hosts your domain, copying its Name and Value (and Priority for an MX record).
- Click Check now. Wait until the status reads Verified.
- Under Your sending address, fill in the Address and the Name families see, then click Send a test and check your inbox.
- Click Send from this address and confirm.
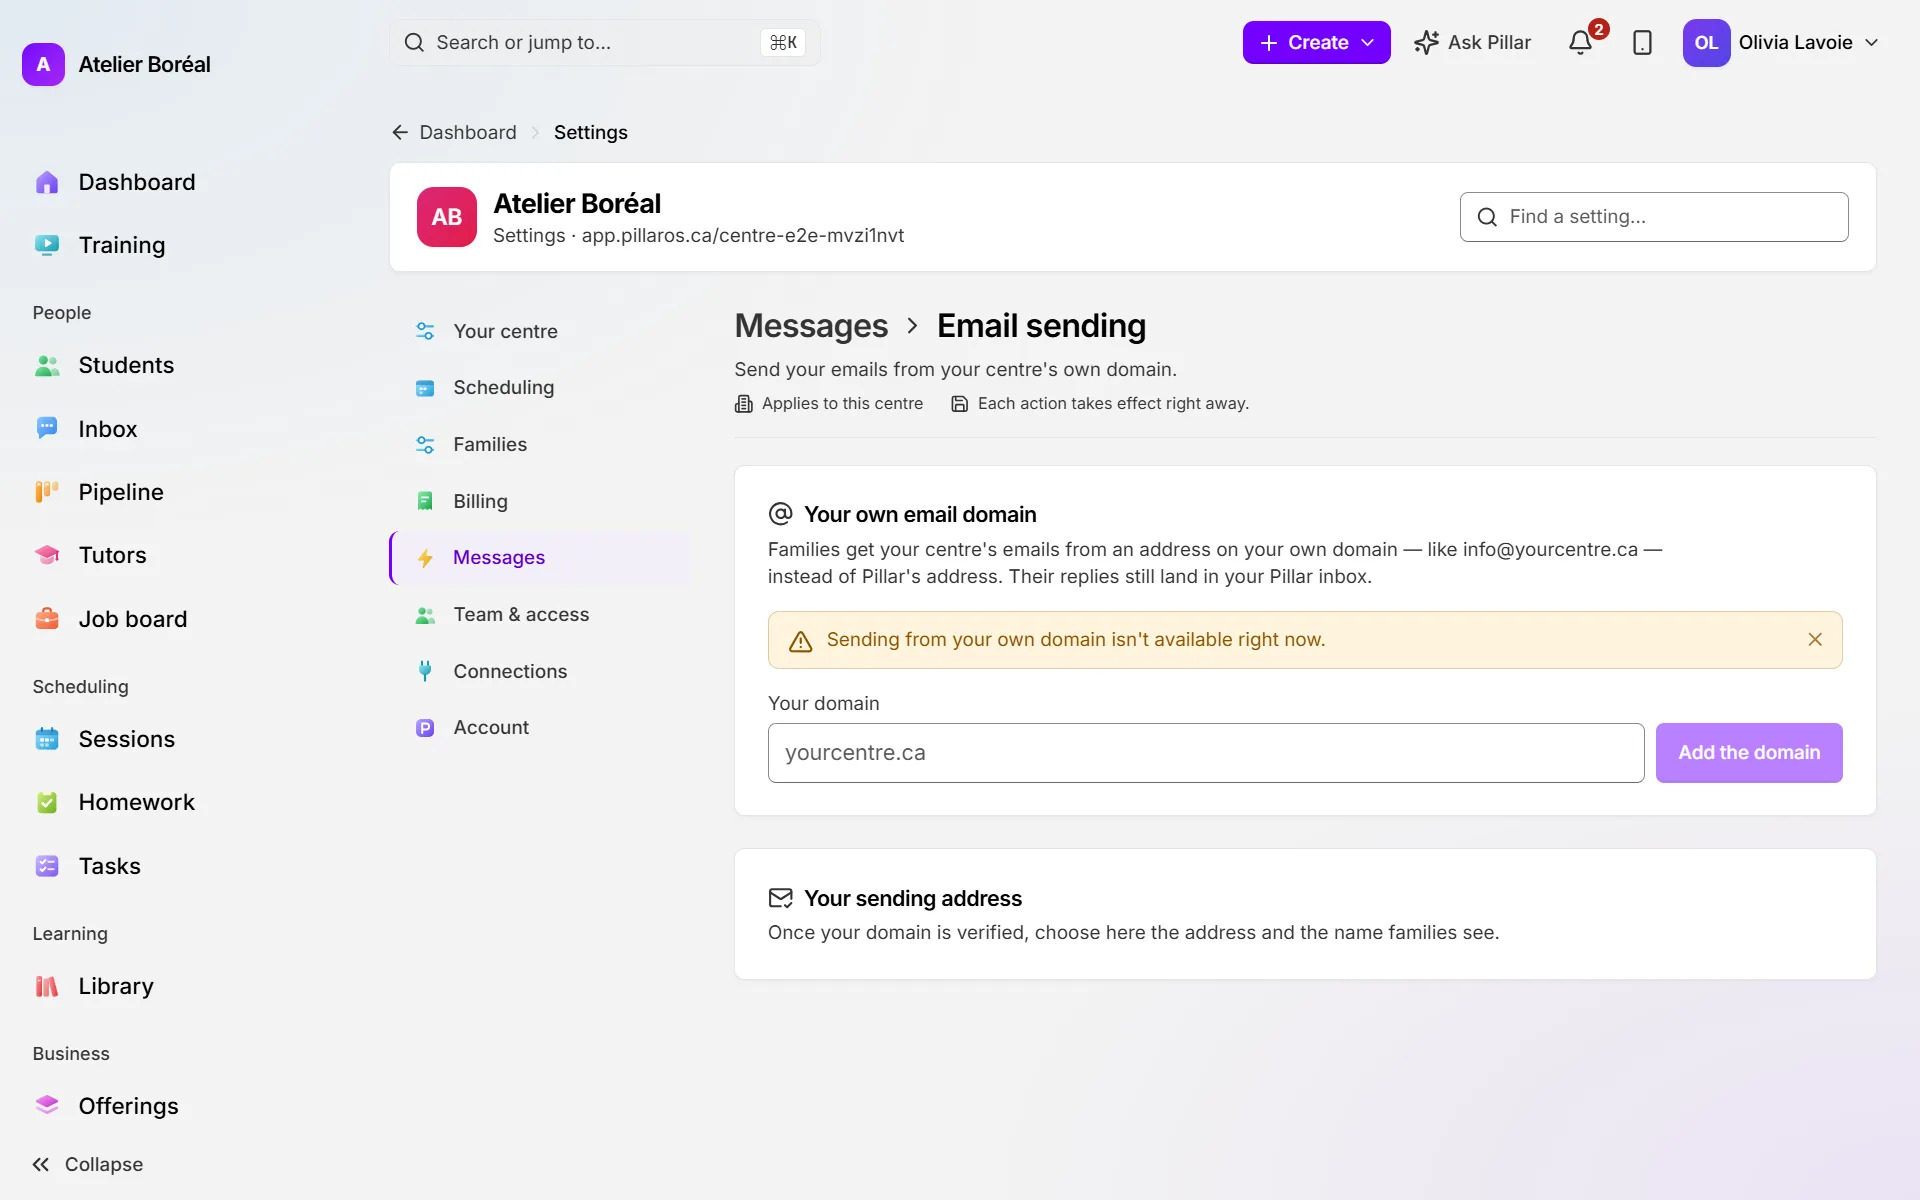
To go back, click Send from Pillar’s address. Your address is kept for later.
Did this answer your question?
Thank you. It helps us know what to write better.
Still stuck?
Support is included with every plan. Write to us and a person replies.
Contact support